Roof Flashing Replacement Services for Property Owners
Visitors will learn about roof flashing replacement services and how to connect with local contractors who handle the work.
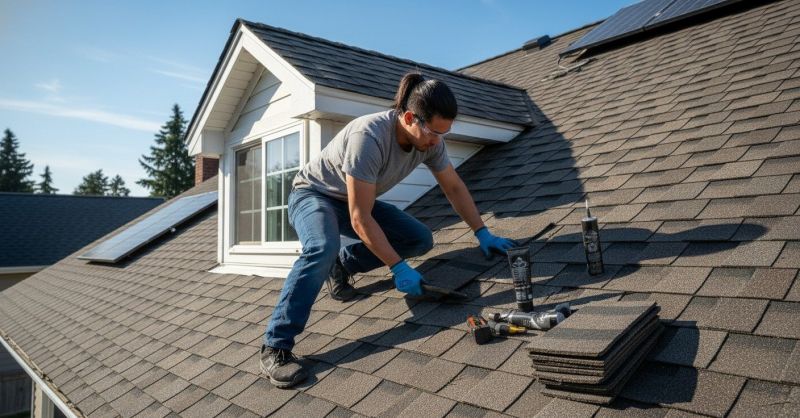
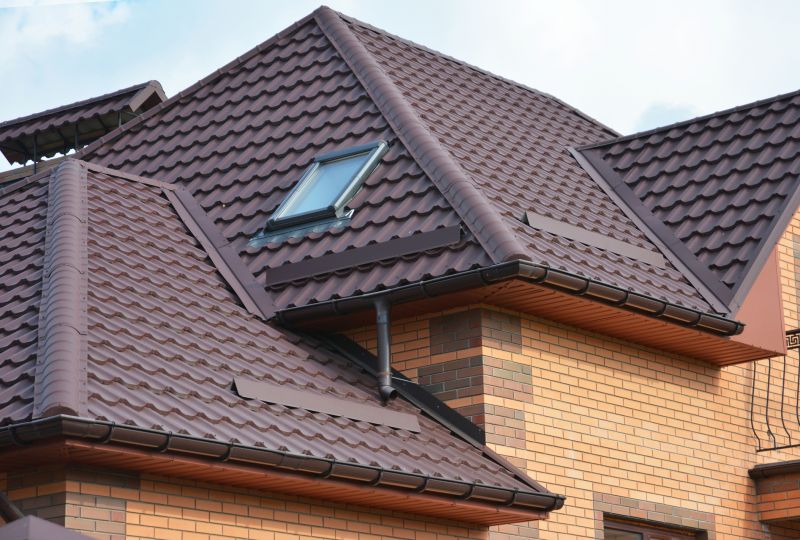
- - Roof flashing replacement services for residential homes, ensuring proper sealing around chimneys, vents, and skylights.
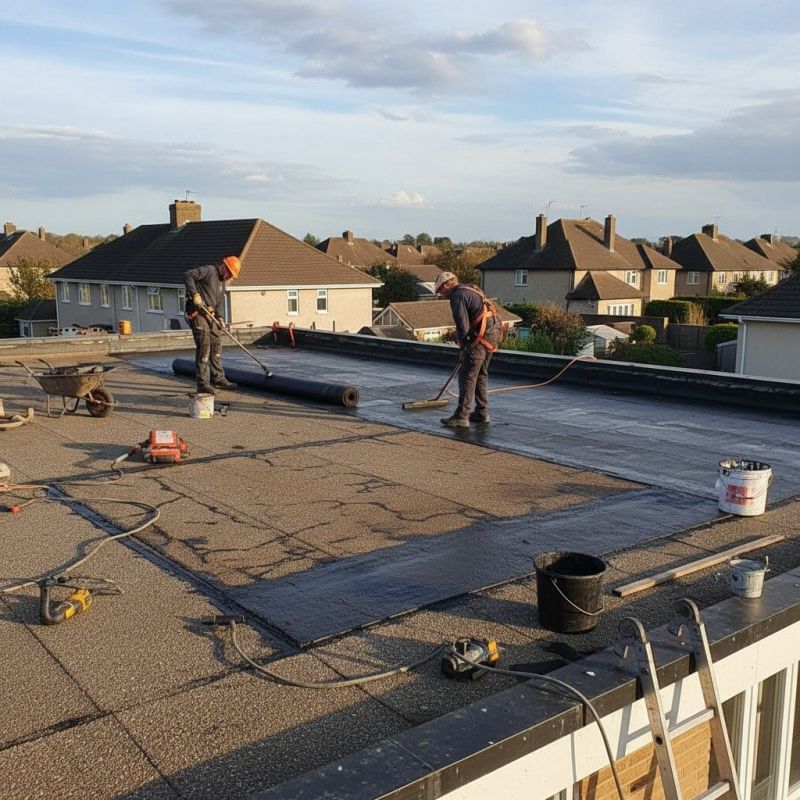
- - Commercial property contractors specializing in flashing repair and replacement to prevent water intrusion.
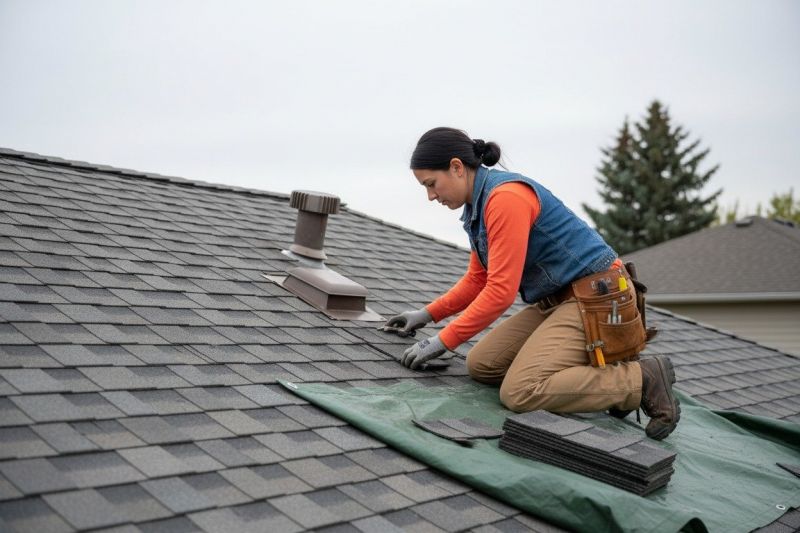
- - Local roofing professionals experienced in diagnosing and replacing damaged or aging roof flashing systems.
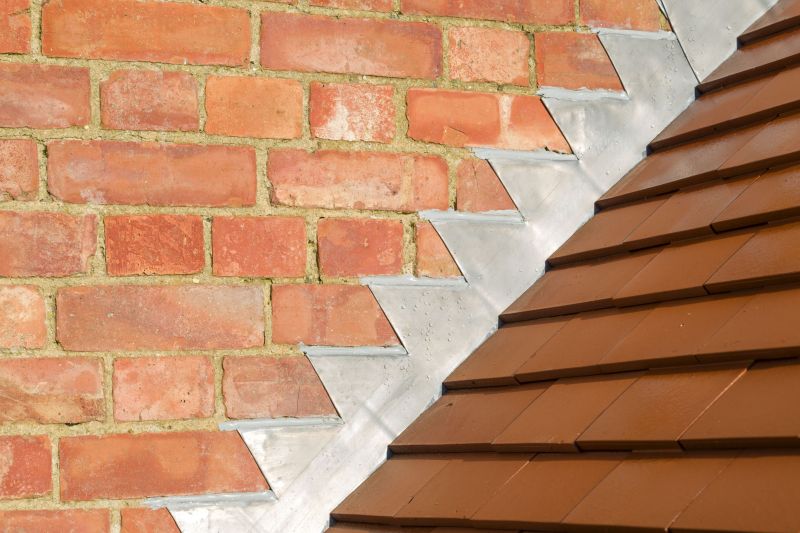
Roof flashing replacement is a specialized service that involves updating or repairing the metal strips installed around roof features such as chimneys, vents, and valleys. These components are essential for directing water away from vulnerable areas of a roof, helping to prevent leaks and structural damage. Property owners often seek out local contractors who have experience working with roof flashing to ensure the work is done properly and to address issues like rust, damage from weather, or aging materials that can compromise the roof’s integrity.
Local service providers who handle roof flashing replacement typically assess the condition of existing flashing, recommend appropriate materials, and perform the necessary repairs or replacements. They understand the unique requirements of different roofing systems and can adapt their approach accordingly. Property owners can expect these professionals to deliver straightforward, practical solutions tailored to the specific needs of their roofs, helping to maintain the durability and protection of their property over time.
This guide provides helpful information to understand the key aspects of roof flashing replacement. It assists in comparing local contractors and understanding what to expect from qualified service providers. The goal is to help visitors gather the basics needed to connect with trusted local experts for their roofing needs.